
Customizing the interface through JSON settings
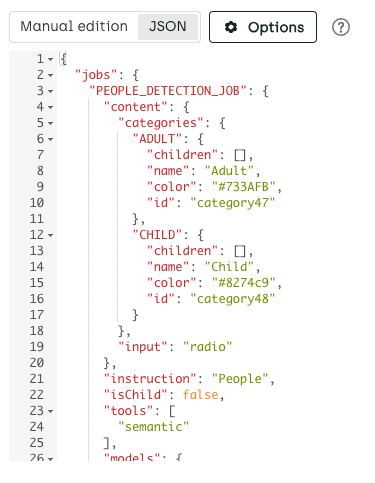
The JSON settings fully describe a project interface. To edit your project JSON settings, go to your project "Settings" page, and then click the JSON interface tab.
To reuse your JSON settings with a different project, simply copy file contents and paste them in the other project.
Generic JSON template
{
"jobs": {
    "<job name>": {
      "content": {
        "categories": {
          "<category name (internal)>": {
            "children": ["JOB_1, JOB_2"],
            "name": "<category name>",
            "id": "<category id>",
            "shortcut": "<letter>",
            "color": "<hex>",
            "jsonMetadata": {
              "<metadata type>": "<some text>"
            }
          }
        },
        "input": "<input type>"
      },
      "instruction": "<short instructions>",
      "mlTask": "<job type>",
      "required": 0|1,
      "isChild": true|false,
      "isNew": true|false
    }
  }
}Editable parameters:
| Parameter name | Description | Input scope |
|---|---|---|
<job name> | Unique name of the specific labeling job | Text |
<category name> | Name of the category (internal; won't be exported or visible in jobs view) | Text |
children | Comma-separated list of nested child jobs | JSON array |
color(optional) | Custom color for category (in hex) | RGB color in HEX notation. For example:"color": "#941100" |
shortcut(optional) | Custom shortcut for label category | Letters of the English alphabet (a-z) and numbers (0-9). For example: "shortcut": "Z" |
name | Name of the label category (included in export data) | Text |
id | ID of category | Text |
jsonMetadata(optional) | You can add metadata to your label category. For more information, refer to Adding instructions. For information on using jsonMetadata with assets (for OCR tasks), refer to Optical character recognition. Note that adding metadata for transcription jobs is not supported. | Any (or combination) of: - "imageUrl": "<image URL>",- "text": "Some text",- "url": "www.example.com"Examples: - Text - Image and URL |
input | Input type (for example, "radio" for radio button) | For specifics, refer to Customization per job type |
instruction | Short instructions for the labeling job | Text |
mlTask | Kili labeling job category | For specifics, refer to the Labeling job type mapping |
required | Information if labeling job is required. Required jobs have to be completed for a labeling job to be considered complete. | 1 or 0 |
isChild | Set if the job is nested under another job. | true or false |
isNew | In projects with many labeling jobs, most jobs are collapsed by default. This parameter is used by Kili UI to show new jobs in full. | true or false |
isIgnoredForMetricsComputations | Used to control whether or not the job will be used when computing quality metrics. | true or false |
Labeling job type mapping
| Labeling job type | mlTask |
|---|---|
| Classification | CLASSIFICATION |
| Transcription | TRANSCRIPTION |
| Object detection | OBJECT_DETECTION |
| Pose estimation | OBJECT_DETECTION |
| Semantic segmentation | OBJECT_DETECTION |
| Object relation | OBJECT_RELATION |
| Named Entities Recognition | NAMED_ENTITIES_RECOGNITION |
| Named Entities Relation | NAMED_ENTITIES_RELATION |
In PDF projects different pages may represent different document types, so transcription and classification tasks in PDF projects can now be defined once but set to apply to each of the pages separately.
To enable that, use a Classification or a Transcription job, and then set:
"mlTask": "PAGE_LEVEL_CLASSIFICATION""mlTask": "PAGE_LEVEL_TRANSCRIPTION"
Customization per job type
Additional JSON objects are available in specific job types. For details, refer to:
- CLASSIFICATION jobs
- OBJECT_DETECTION jobs
- OBJECT_RELATION jobs
- NAMED_ENTITIES_RECOGNITION jobs
- NAMED_ENTITIES_RELATION jobs
- TRANSCRIPTION jobs
Nesting jobs in JSON
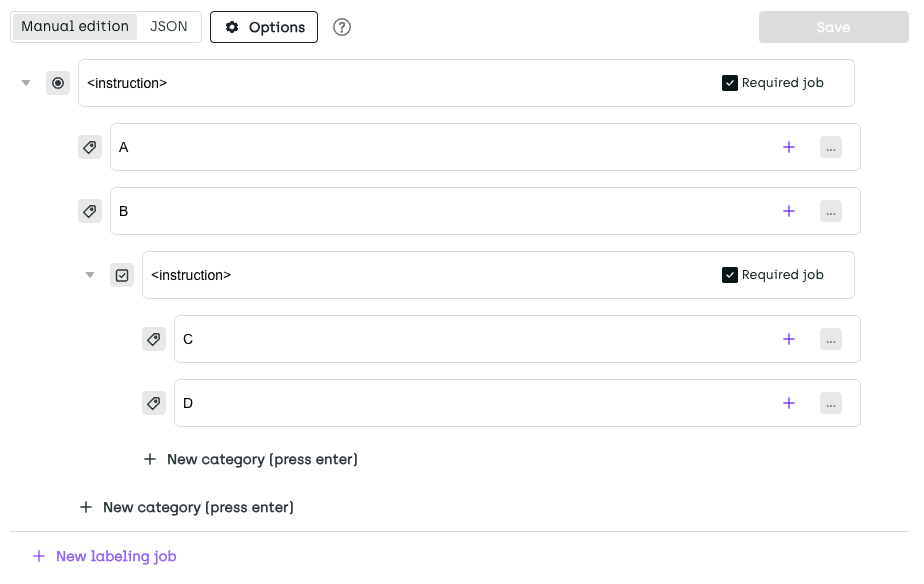
If you want the job to be nested under another job, set its "isChild" attribute to true and add the job ID in the "children" list for the parent.
For example:
"CLASSIFICATION_JOB": {
      "content": {
        "categories": {
          "A": {
            "children": [],
            "name": "A",
            "id": "A"
          },
          "B": {
            "children": [
              "CLASSIFICATION_JOB_0"
            ],
            "name": "B",
            "id": "B"
          }
        },
        "input": "radio"
      },
      "instruction": "<instruction>",
      "mlTask": "CLASSIFICATION",
      "required": 1,
      "isChild": false,
      "isNew": true
    },
    "CLASSIFICATION_JOB_0": {
      "content": {
        "categories": {
          "C": {
            "children": [],
            "name": "C",
            "id": "C"
          },
          "D": {
            "children": [],
            "name": "D",
            "id": "D"
          }
        },
        "input": "checkbox"
      },
      "instruction": "<instruction>",
      "mlTask": "CLASSIFICATION",
      "required": 1,
      "isChild": true,
      "isNew": true
    }
results in this job structure:
- Only classification jobs and transcription job types are allowed as child jobs. In total, you can only nest up to four jobs in a row (one main job and three sub-jobs). All job types can have a child job, except for transcription jobs and classification jobs with a
Multiple choicesdropdown input type.* In the asset viewer, only the first transcription sub-job is visible in label tags. To make sure that you always have full visibility of the most important sub-jobs, you can change the order of transcription sub-jobs from the project JSON.
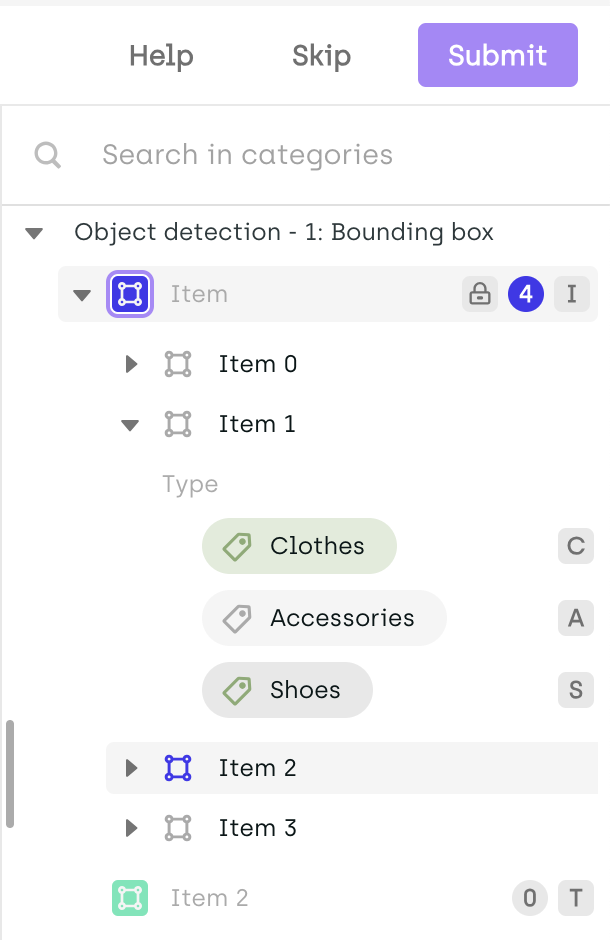
Locking objects in the interface
You can restrict users from changing the position of objects in the labeling interface by setting the lockObjects attribute in your JSON configuration. This attribute can be applied globally to all jobs or specifically to individual categories, as shown below:
{
  "lockObjects": true,
  "jobs": {
    "OBJECT_DETECTION_JOB": {
      "content": {
        "categories": {
          "CATEGORY_A": {
            "children": [],
            "color": "#472CED",
            "name": "CategoryA",
            "id": "category74"
          },
          "CATEGORY_B": {
            "children": [],
            "name": "CategoryB",
            "color": "#5CE7B7",
            "id": "category75"
          }
        },
        "input": "radio"
      },
      "instruction": "",
      "mlTask": "OBJECT_DETECTION",
      "required": 0,
      "tools": [
        "rectangle"
      ],
      "isChild": false,
      "isNew": false
    }
  }
}
{
"jobs":{
"OBJECT_DETECTION_JOB":{
"content":{
"categories":{
"ITEM":{
"children":[
"CLASSIFICATION_JOB"
],
"color":"#472CED",
"name":"Item",
"lockObjects":true
},
"ITEM_2":{
"children":[
],
"name":"Item 2",
"color":"#5CE7B7"
}
},
"input":"radio"
},
"instruction":"",
"mlTask":"OBJECT_DETECTION",
"required":0,
"tools":[
"rectangle"
],
"isChild":false
},
"CLASSIFICATION_JOB":{
"content":{
"categories":{
"CLOTHES":{
"children":[
],
"name":"Clothes"
},
"ACCESSORIES":{
"children":[
],
"name":"Accessories"
}
},
"input":"radio"
},
"instruction":"Type",
"mlTask":"CLASSIFICATION",
"required":0,
"isChild":true
}
}
}Locked objects are indicated in the interface with a lock icon next to the category name or next to all jobs when the setting is applied globally.
Updated 8 months ago