
Creating a new project
Only organization members with role set to
admincan create projects.
You can either create a project from the Kili graphical user interface or programmatically.
Follow this recipe to create a new project from the Kili Python SDK:
The recipe shows how to create an image object classification project. For more options, refer to our Python SDK reference.
For information on how to create a project from Kili CLI, refer to our Command Line Interface documentation
Creating a project from the Kili UI
- Click on the Kili logo in the top-left corner of the screen to get to your project list.
- From the project list, click Create project.
- Type your project name and description.
- Select your asset type.
Asset type is a critical choice. You won't be able to change it later.
Available asset types:
- Image
- Text
- Video
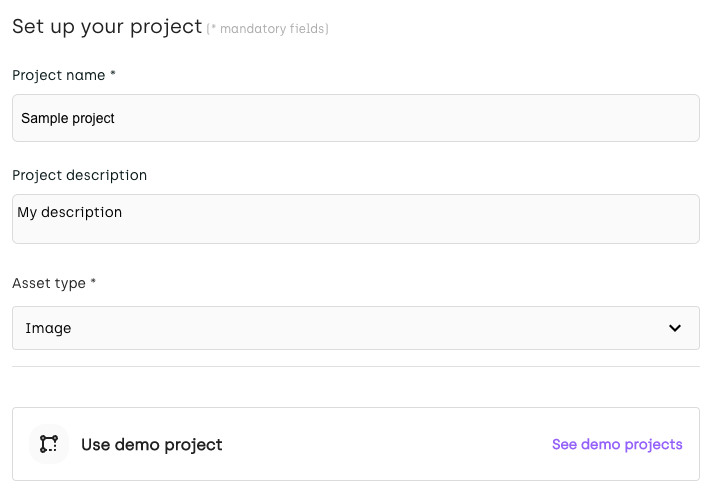
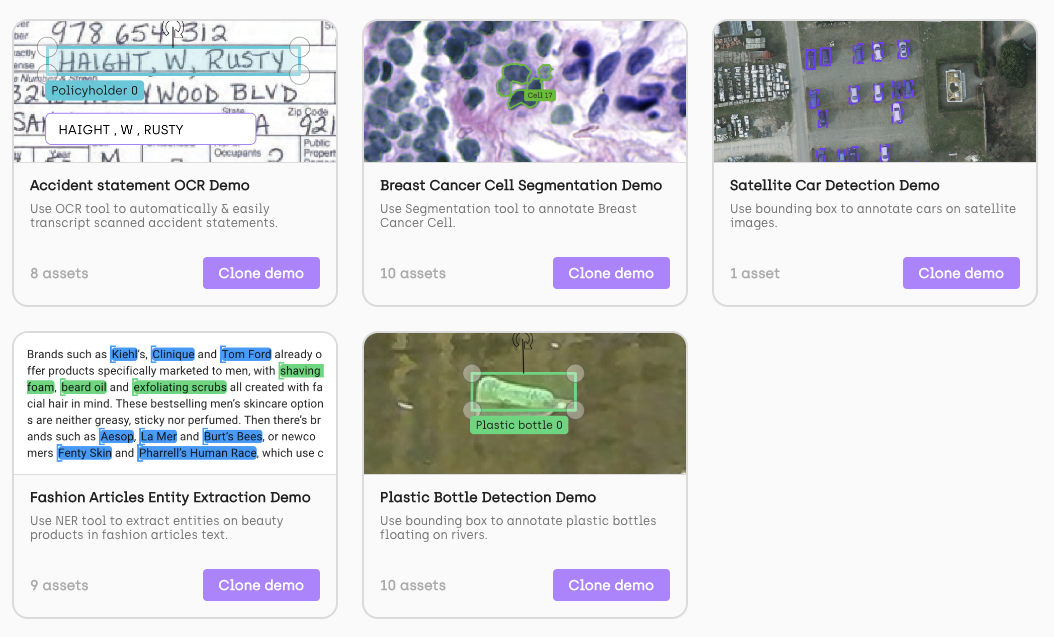
- You can use one of our template projects and skip the rest of the project creation steps. To do that, click
See demo projects, find a project that matches your needs, and then clone it.
When you complete step 1 of the wizard, the new project gets created in Kili app. You won't be able to get back to step 1.
- Click Continue.
- Add assets to your project and then click Continue. For details on adding assets, refer to Adding assets to project.
If you want to add assets later, you can skip this step by clicking Continue.
- Edit your labeling interface (add labeling jobs etc.) For details, refer to Customizing project interface. When done, click Finish.
- If you want to edit your interface later, click Finish. The ontology of the new project will be empty, though.* To access the ID of the newly-created project, go to Settings > Admin.
Learn more
For an end-to-end example of how to set up a Kili project programmatically using Kili's Python SDK, refer to our Basic project setup tutorial.
For information on how to add project members and set quality metrics, refer to Managing project members and Quality management tools.
Updated 9 months ago