
Customizing the interface in Kili UI
To customize your project interface through the UI-based interface builder:
- Go to your project "Settings" page.
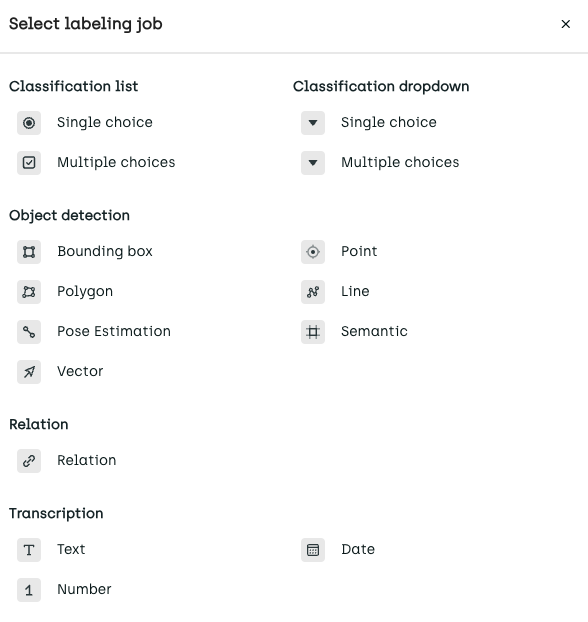
- Click New labeling job and then select a job from among the available categories.
- If needed, add nested jobs and customize your interface directly from project JSON file.
In PDF projects different pages may represent different document types, so transcription and classification tasks in PDF projects can now be defined once but set to apply to each of the pages separately.
To enable that, when adding a classification or transcription task, change theDocument levelsetting toPage level.
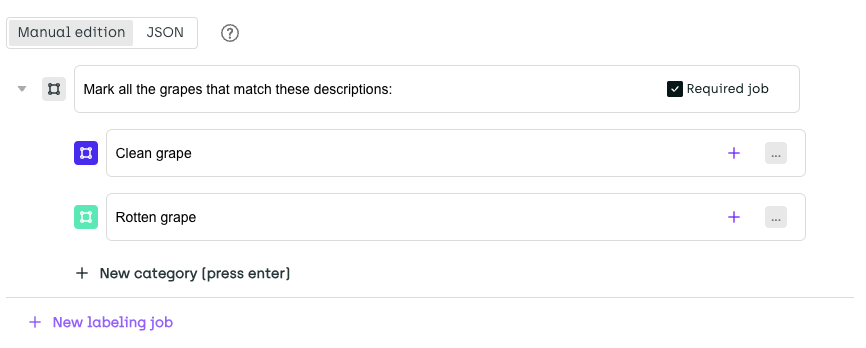
Example interface with one job:
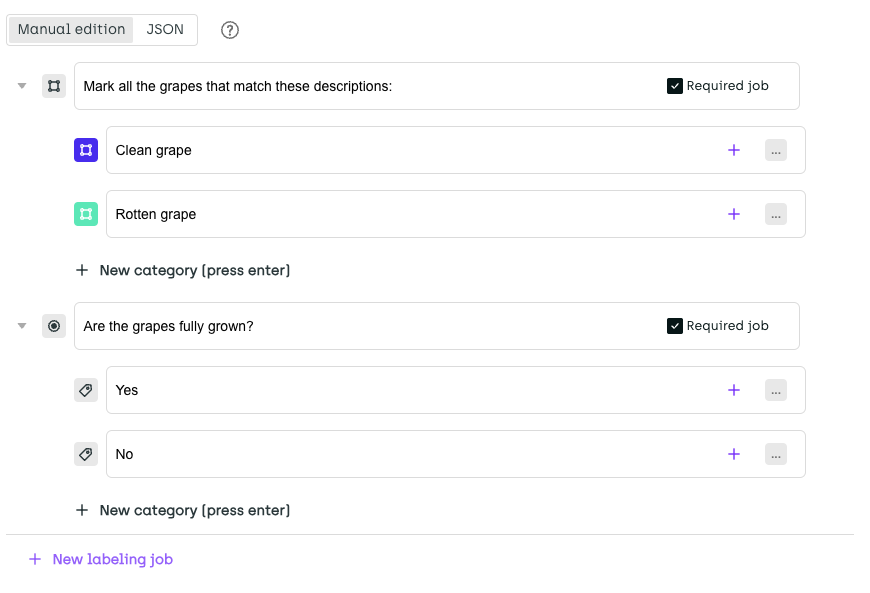
You can add as many jobs as needed for your labeling task:
Adding nested jobs
To nest a job, click the nesting icon at the class/category level.
Then start adding your nested jobs.

- Only classification jobs and transcription job types are allowed as child jobs In total, you can only nest up to four jobs in a row (one main job and three sub-jobs) All job types can have a child job, except for transcription jobs and classification jobs with a
Multiple choicesdropdown input type* In the asset viewer, only the first transcription sub-job is visible in label tags. To make sure that you always have full visibility of the most important sub-jobs, you can change the order of transcription sub-jobs from the project JSON.
Customizing shortcuts
Normally, Kili app automatically assigns shortcuts to labeling classes. If you see an icon with three dots (...) on the right-hand side of your task, this means that standard behavior will apply. It is possible to customize shortcuts, though. To do that, click on the icon with three dots and set you own shortcut.
You can use all the letters of the English alphabet (a-z) and numbers (0-9).
Updated 9 months ago