
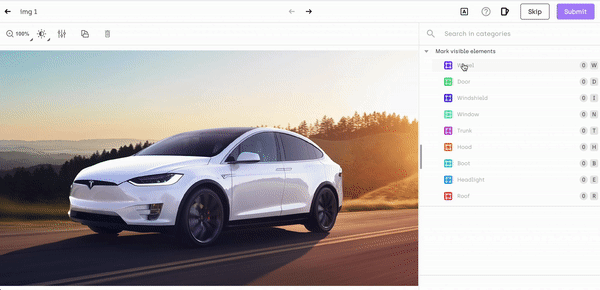
Using the bounding box tool
Bounding box
A bounding box is a rectangle positioned on the object.
To annotate using a bounding box, select an object class and then do one of the following:
- Click and drag the cursor on the asset and then release the cursor.
- Select annotation vertices with two mouse clicks. The first click marks the upper-left vertex of the rectangle and the second click marks the lower-right vertex.

Bounding boxes can be:
- Used together with tasks like Object/entity detection, Transcription, Classification, and Semantic segmentation.
- Nested with Classification and Transcription tasks.
In Image projects, when you copy&paste an object (for example a bounding box), the contents of its sub-jobs, if any, are also copied. This can help speed up labeling similar complex objects.
For object-detection jobs with several classes and nested transcription sub-jobs, when you change the class by using the annotation context menu, the contents of the nested transcriptions will get transferred to the new class. Several limitations apply, though:
- Instructions for nested jobs have to be the same between both classes
- The types of nested jobs (including limits imposed on acceptable values, like data-only, or number-only entries) have to be the same between both classes
For PDF-related jobs:
It is not possible to make named entity recognition (NER) annotations where a bounding box has already been made. In this situation you can:
- First make NER annotations, and then add the bounding box annotations above the exiting NER annotations.
- Using the job viewer, hide specific bounding boxes and then annotate named entities.

Refer to these topics for information on how to use bounding boxes with:
Updated 8 months ago