
Labeling Geospatial data
Navigate the image
Tiles are dynamically loaded from the image source, so loading time may vary based on several factors. Multi-band images typically require more time to render, and slower network connections or greater physical distance from the image storage location can increase tile loading time in the interface.
You can navigate the image using several tools:
- Pan: Click and drag to move around the image.
- Zoom
- Use your mouse scroll wheel or trackpad to zoom in and out.
- Adjust zoom levels directly from the header or by using the
+and-keys - Press
Shift+ 1 to go back to the initial zoom level - Or, hold the
Shiftkey and draw a box around the area you want to zoom into for a quick focus.
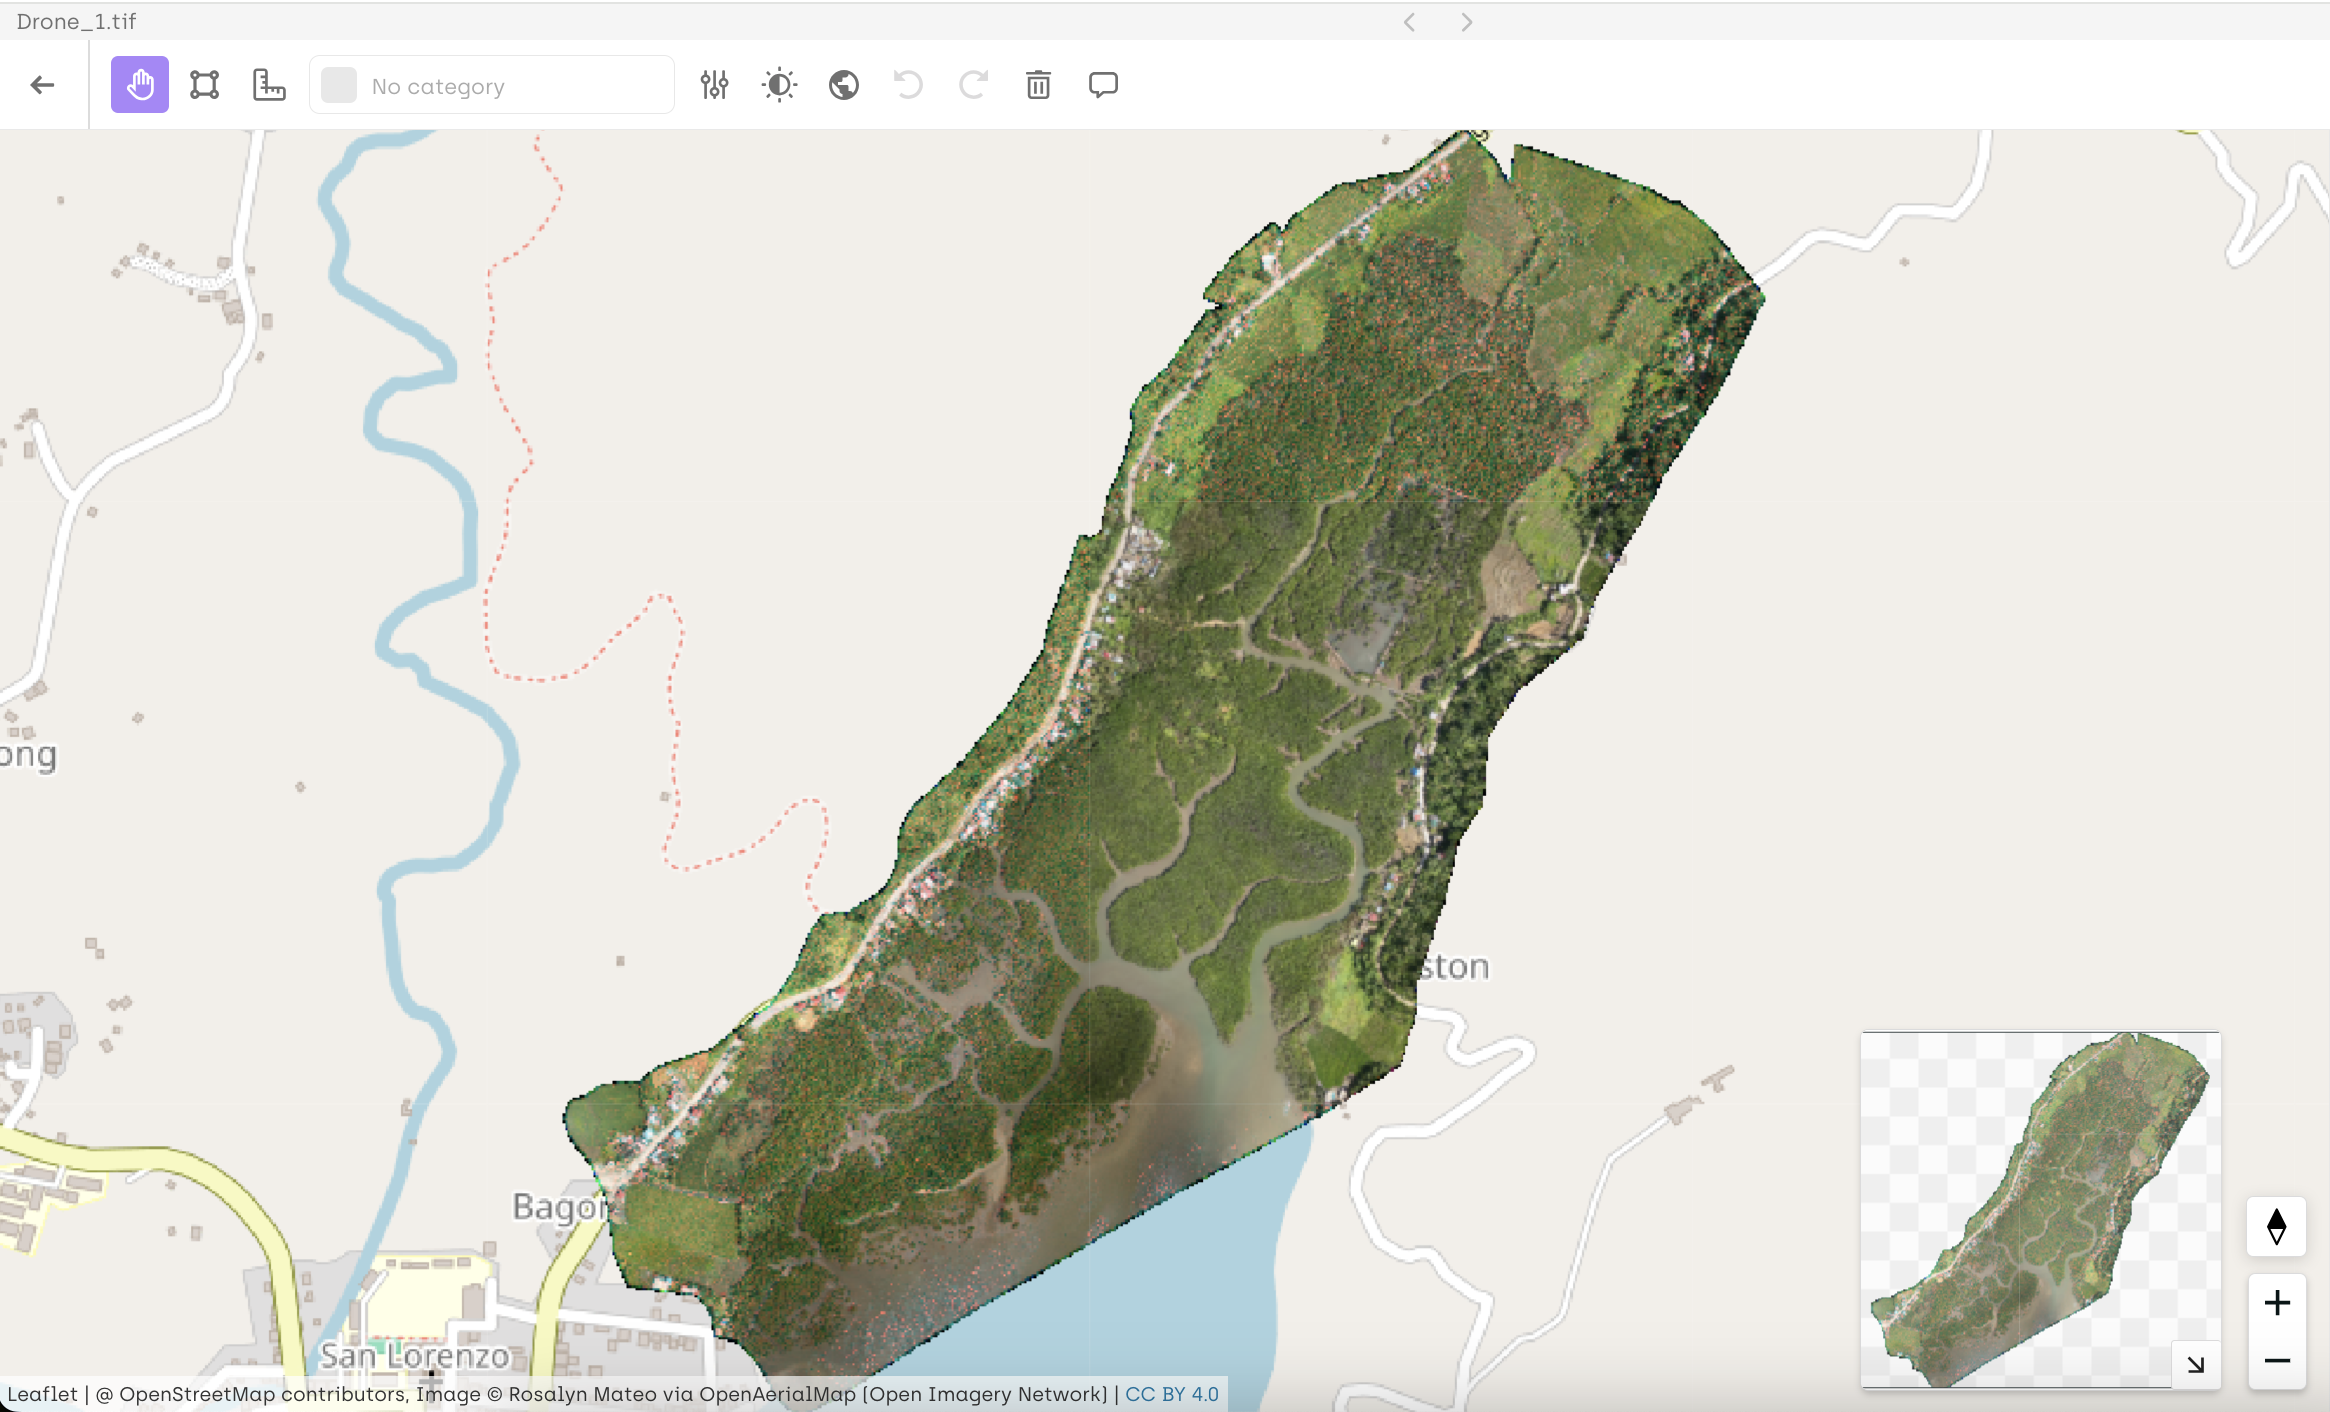
- Mini-Map
A mini-map in the corner of the interface shows your current viewport. You can drag the viewport box to quickly jump to a different part of the image. You can hide/show it from the display settings.
- Jump to object
From the Job viewer, you can click on a specific annotation or object in the list. The interface will automatically pan and zoom to its exact location on the image
Customizing image display settings
Change the Coordinate Reference System (EPSG)
You can change the Coordinate Reference System (CRS) used to display your geospatial asset directly from the CRS selector.
Default behavior:
- When a base map is enabled, the default projection is
EPSG:3857. - When no base map is used, the image is displayed in its original EPSG.
Important: The base map layer is only compatible with EPSG:3857. If you switch to another EPSG, the base map will automatically be hidden.
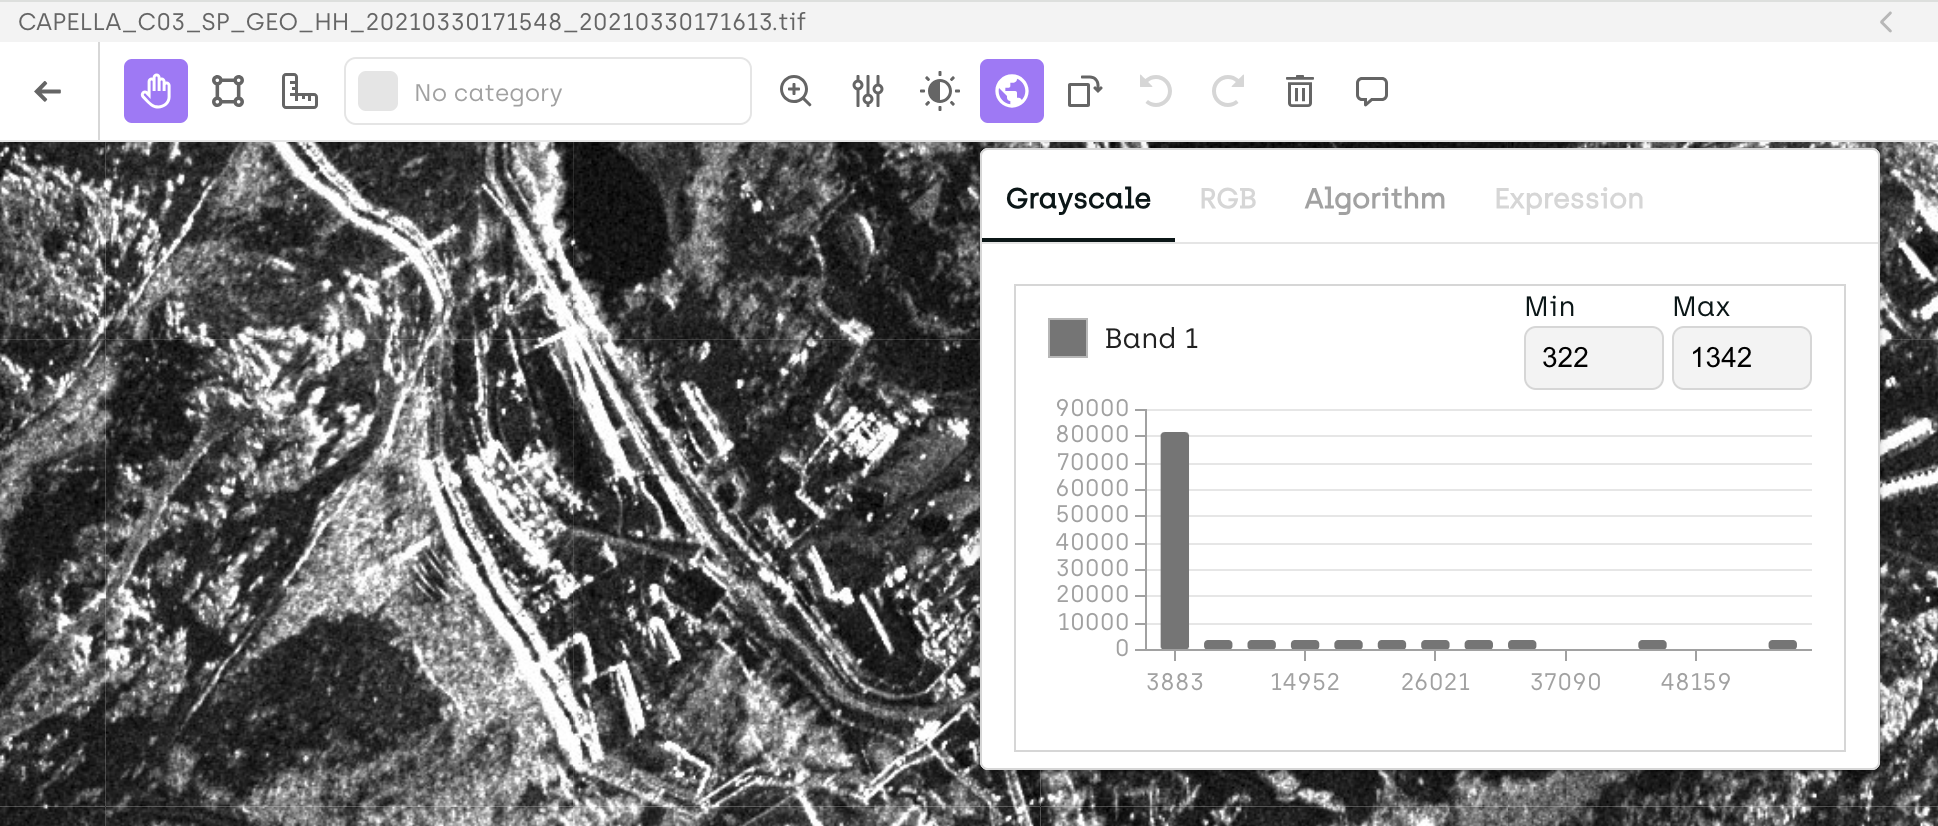
Rescale image bands
Adjust the minimum and maximum values used to render each band. This helps enhance contrast and visibility of specific features.
By default, the viewer uses the 2nd to 98th percentile of pixel values for rescaling. You can view the histogram of each band to guide your adjustments.
Create RGB composites
When working with multispectral or hyperspectral imagery, you can map any available bands to Red, Green, and Blue channels to generate a custom composite.
This is useful for creating true-color or false-color views, depending on your analysis needs.
Create spectral indices
Define custom band math expressions to compute spectral indices such as NDVI, NDWI, or any other relevant formula.
You can then apply a colormap to better highlight the index values and identify patterns or anomalies in the imagery.

Rotate the image
Use the compass button to rotate the image: click the button, then drag your mouse left or right to adjust the orientation. To reset the image to its original position, simply double-click the compass button.
Reorder the layers
You can reorder layers directly from the labeling interface using drag and drop in the layer panel, giving you more control over how your data is visualized
Show the image borders
You can display image borders to better understand which areas belong to the image versus the basemap — making it easier to interpret what’s inside or outside the annotated scene.
Spatial tools for precision labeling
Find location by coordinates
Quickly locate a specific point in the image by right-clicking and selecting “Find location,” then entering latitude and longitude.
Copying coordinates
You can quickly copy the geo-coordinates of any point. To do that, hover over it, click the right mouse button, and then select Copy GPS Coordinates. The coordinates are copied to the clipboard.
Measuring distances
You can measure distances between any two points. The distance is provided in meters and feet. This is helpful in situations when an object’s length is a decisive factor for assigning it a specific class.
Annotate the image
Geospatial projects support a wide range of annotation tools to match your labeling needs:
Updated 4 months ago