
Labeling LLM data
Private Beta featureThis feature is currently in private beta and is not enabled by default. Access is limited to a restricted group of users as we continue to refine and improve the experience. If you're interested in using this feature, please contact us to request access.
Introduction
Training high-quality Large Language Models (LLMs) requires well-structured, high-quality datasets that align models with human preferences. This guide explains how to use our platform to create, label, and export training data for Reinforcement Learning from Human Feedback (RLHF).
Kili provides a suite of tools that enable teams to:
- Generate conversations by prompting models configured in the project settings.
- Evaluate and rank model responses using custom ontologies to capture nuanced preferences.
- Improve responses by providing better alternatives when model outputs are incorrect.
By following this guide, you will gain a comprehensive understanding of how to manage LLM training data efficiently and ensure high-quality annotations that improve model performance.
Dynamic LLM Projects
Configuring a dynamic LLM Project
Before you can start labeling training data, you need to configure an LLM integration for your organization and define its execution parameters at the project level. This section will guide you through the setup process.
Step 1: Configuring the LLM integration
The first step in setting up an LLM project is integrating a model by providing its access credentials. This allows the platform to communicate with the model and generate responses.
If you are an Organization Admin, You can create or edit an LLM integration from the Model Integrations menu that is available in the Organization settings.
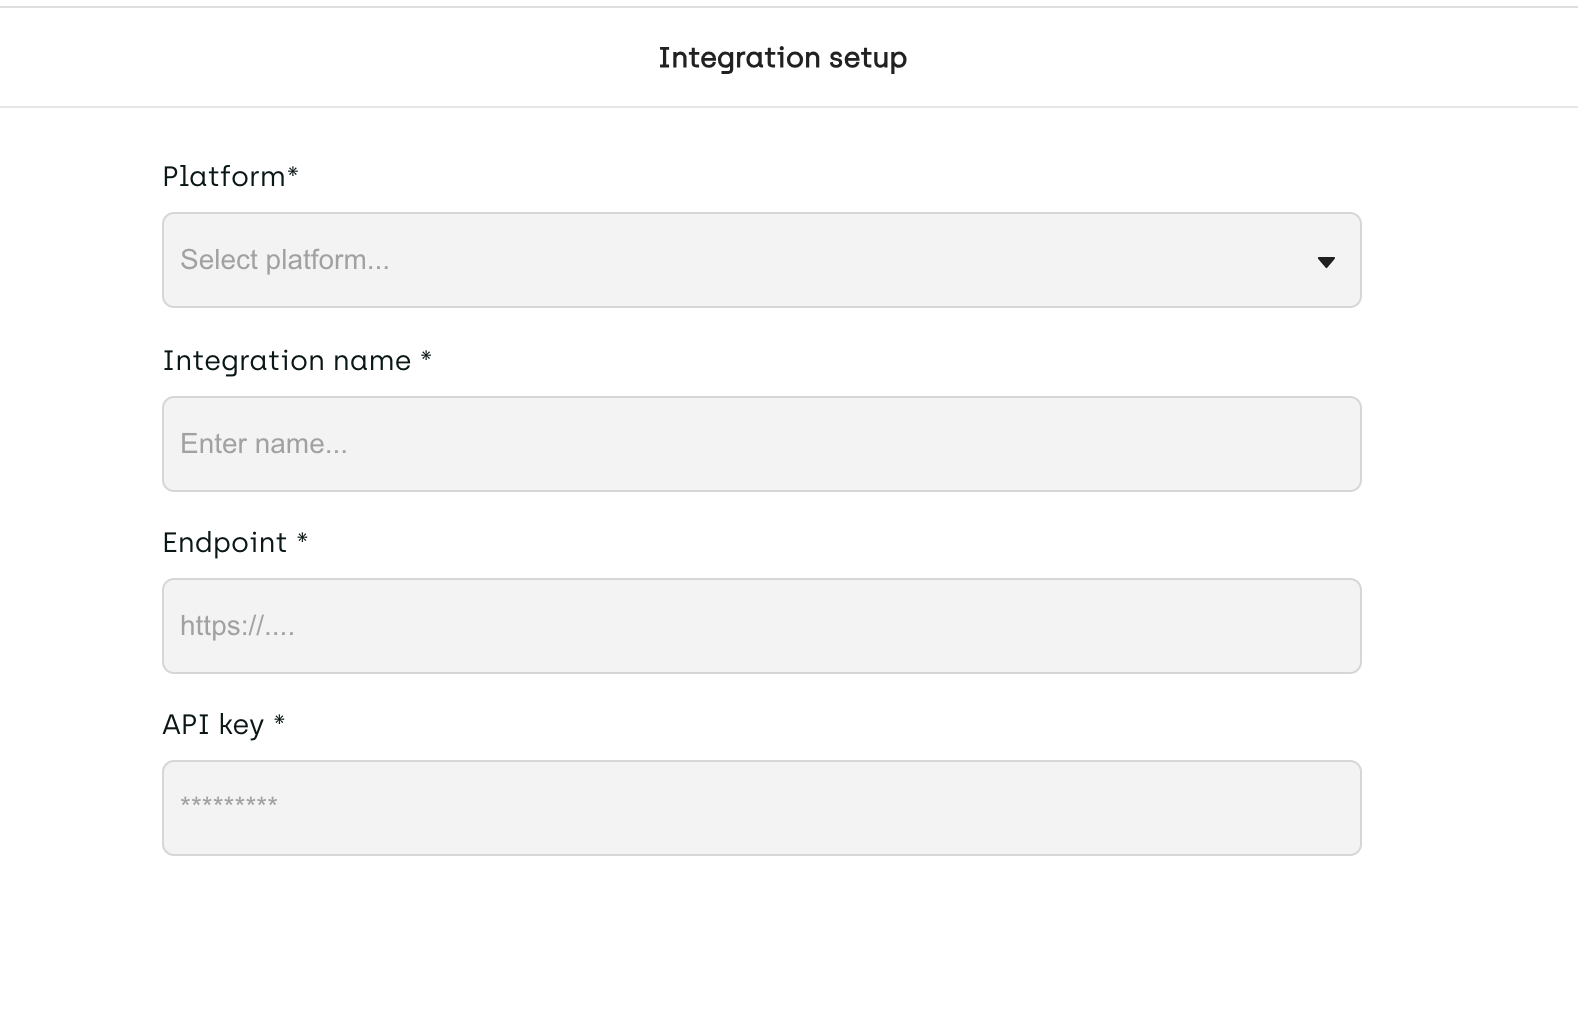
To complete this step, provide the following details:
- Platform - Select the connector among the ones available
- Integration name - Provide a name for the integration
- Endpoint – The endpoint where the LLM is hosted.
- API key – API key required to interact with the model.
Once the LLM connector is set up, the model will be available for use within your organization.
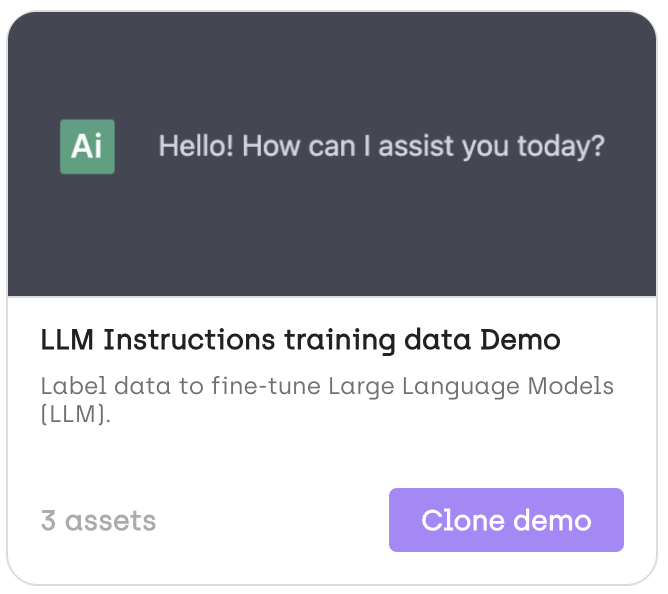
Step 2: Creating an LLM Project from a template
- Navigate to the Demo Projects section.
- Select an LLM project template from the available options.
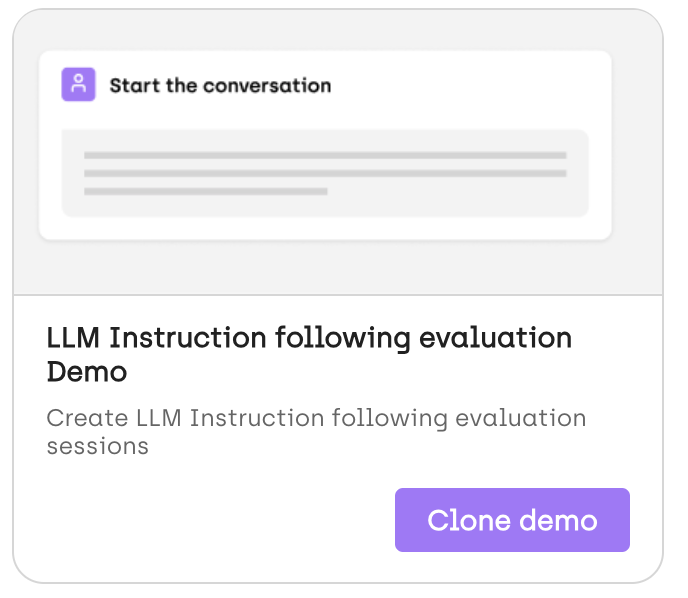
This template provides a pre-configured structure, making it easier to get started with LLM data labeling.
Step 3: Configuring the LLM at the Project Level
After integrating the model, you can configure it for a specific project. This involves selecting an available LLM and defining execution parameters to customize its behavior.
Selecting a Model
Within the project settings, choose an LLM from the list of models available to your organization.
Setting Execution Parameters
Depending on the selected model, you can adjust various parameters, including:
- Temperature – Controls the randomness of responses (higher values produce more diverse outputs, lower values make responses more deterministic).
- Security Settings – Some models provide additional configurations such as safety filters or content moderation settings.
These parameters allow you to fine-tune the model’s behavior to align with your project’s specific needs.

Note: You need to configure at least two models in your project, as the LLM interface is designed for pairwise comparison of model responses.
Step 4: Set up the labeling jobs
Once the LLM is set up for your project, the next step is to define how labeling will be performed. Labeling jobs determine how annotators interact with and evaluate model-generated responses.
Kili's LLM interfaces support classification and transcription jobs, including plain text and markdown formats.
Labeling can be configured at different levels:
- The conversation – Label the overall quality, coherence, or alignment of an entire exchange.
- The round of conversation – Assess interactions within a single turn of the conversation.
- The completion – Evaluate individual model outputs based on predefined criteria.
To set up labeling jobs in LLM projects, it is currently recommended to edit the JSON interface directly, as the labeling jobs editor does not yet support round- and conversation-level configurations. We are actively working on enabling these features soon.
Creating conversations and evaluating responses
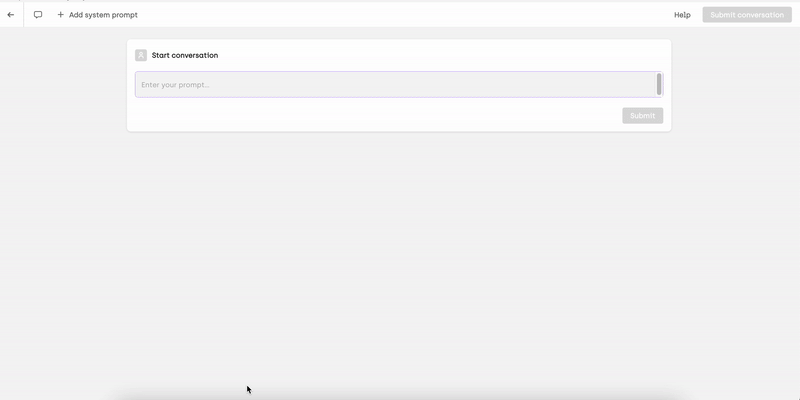
With this interface, you can create multi-turn conversations with or without a system prompt, allowing you to simulate real-world interactions. As the conversation progresses, you can rank and evaluate model responses, refine outputs by providing improved answers, and rate individual turns as well as the overall conversation. This structured approach ensures high-quality training data for model alignment.
Static LLM Projects
LLM static labeling functions similarly to LLM dynamic labeling, with one key difference: instead of generating conversations by prompting a model within the interface, it operates on existing conversations. This approach is useful when labeling doesn't require real-time interaction with an LLM.
For example, you may want to label conversations traced from your production environment, allowing you to evaluate and refine model behavior based on real-world interactions. By leveraging pre-collected data, you can efficiently assess model responses, rank outputs, and apply relevant annotations to improve model alignment.
Setting Up an LLM Static Labeling Project
Since LLM static labeling works with existing conversations, there is no need to configure models, as the interface does not communicate with an LLM. Setting up a static LLM project is straightforward:
- Create the project using the template available in the Demo Projects section. This provides a pre-configured structure to streamline your workflow.
- Configure the labeling jobs the same way as for LLM dynamic labeling. Learn more about configuring labeling jobs.
Once the project is set up, you can import conversations and begin the labeling process.
Importing existing conversations
For further details on how to import conversations, refer to this tutorial page.
Updated 9 months ago